Wednesday, March 5, 2014

New in the Shop: Darling Deer Baby Hat

Last in Line Shop: Baby Darling Deer Hat
 There's a new item in the shop, and it is ohsocute. I had juuusstt enough yarn left over from the adult-sized Darling Deer Hat I was commissioned to make to whip out this little piece of adorable. A pint-sized version of the big hat!! I am pretty smitten, and I think I may require more yarn so I can make one for Baby Z.
Last in Line Shop: Baby Darling Deer Hat
 I really love how it turned out. Baby-sized earflap hats are too cute. And a baby earflap hat with antlers? Come on. You know it's adorable.
Last in Line Shop: Baby Darling Deer Hat

Last in Line Shop: Baby Darling Deer Hat


Last in Line Shop: Baby Darling Deer Hat
Those widdle antlers!!! I love.


Last in Line Shop: Baby Darling Deer Hat
My hand looks so weird in this picture. The hat measures about 7.5" across.
Pop on over to Last in Line Shop on Etsy to see this hat and other adorable goods!

Linkin' up at these fine sites!

Tuesday, March 4, 2014

"One Skein" Book Review & Another Thrift Score

A bit of a mixed post for you today! A Thrift Score and a book review. Let's get to it!

I was just at Share Stuff last week, but I stopped over there again with my friend who just got a promotion and needed some supah classy clothes. Yay!! You don't have to twist my arm very hard to get me to go thrift shopping. Having just gotten a big haul of clothes last week, I didn't really expect to be buying more.

But. The Winter Sale was still going on. $1 for all coats, sweaters, flannels, button ups, sweatshirts, and hoodies. I know I just got a metric poo ton of sweaters last week, but those were all fancy. Hoodies are totally different, right? Hood life, yo.

Plus, you can't hardly beat getting an article of clothing for a dollar.
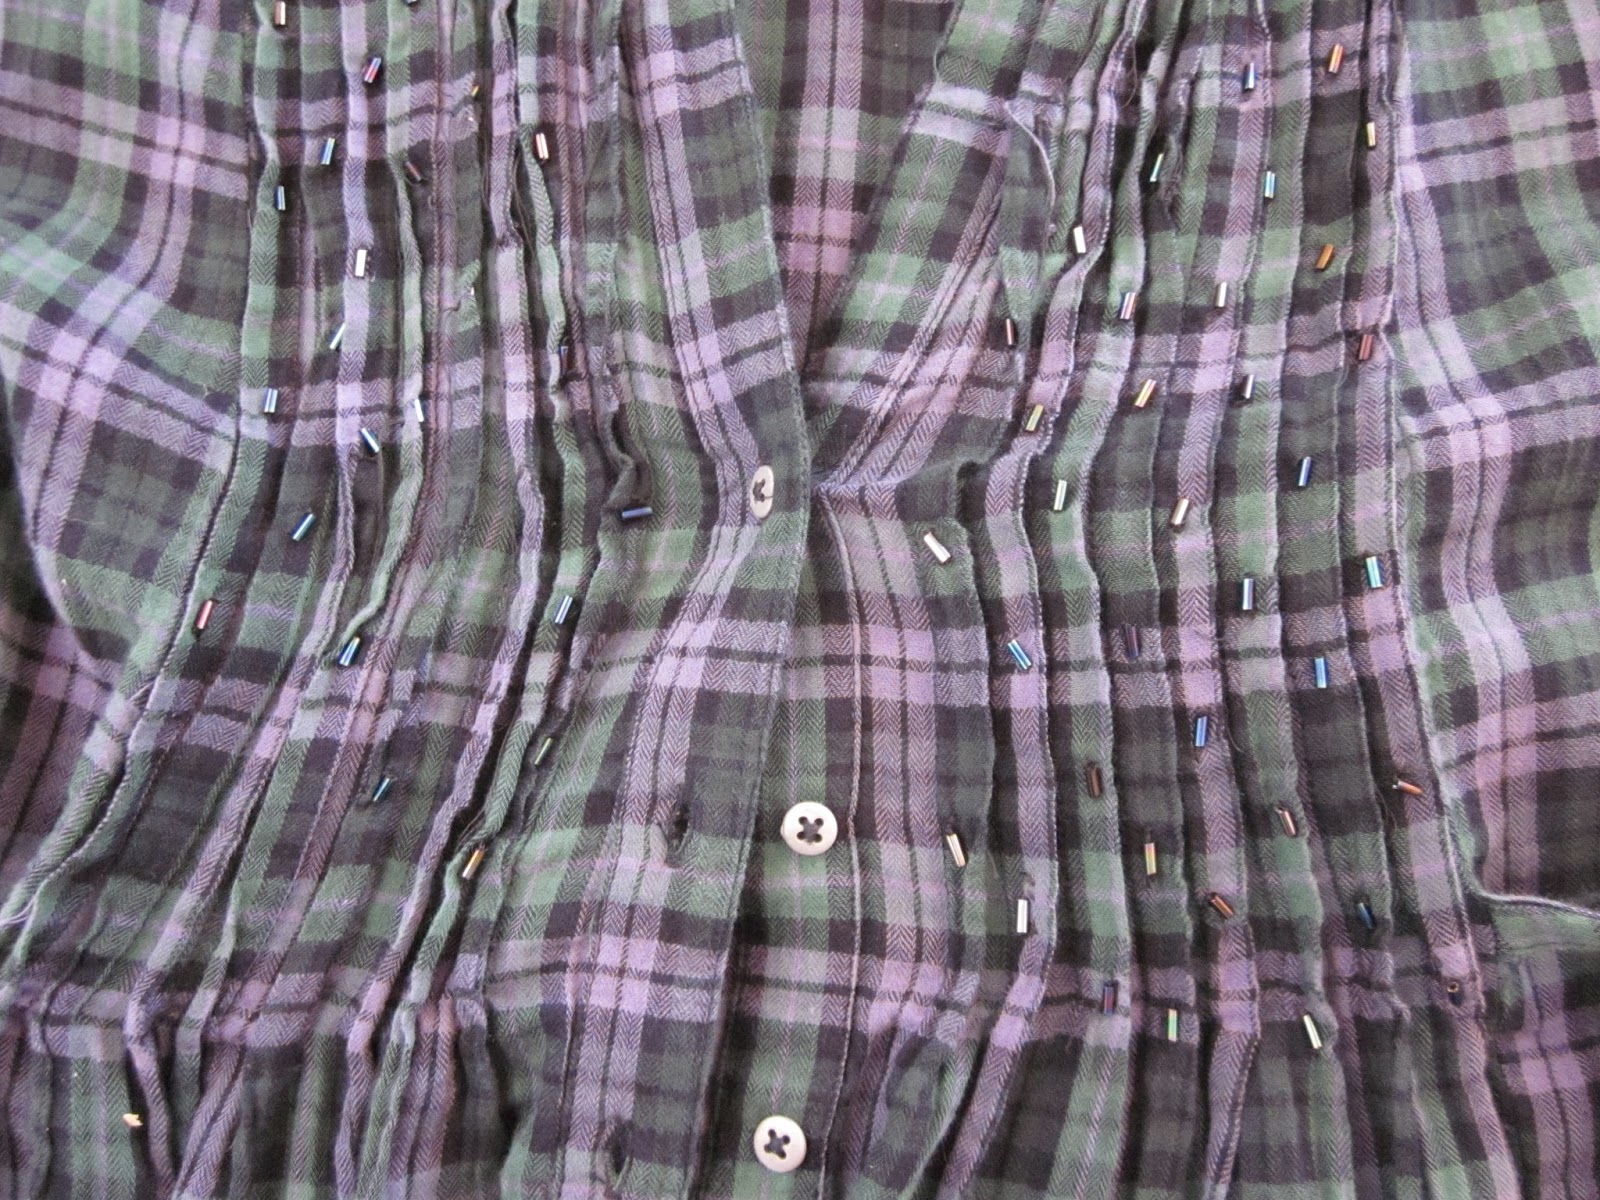
 This billowy top was forced upon me pointed out to me by my friend who loves purple. And plaid. And flannel. I think she may have been attempting to live through me. But the shirt is nice, long, and can be worn when I have a big belly. Good stuff. Plus it has bling. Can't go wrong with bling.
The bling
 Normally, I would not go for Hollister stuffs. Because I just am not that kind of girl? Yeah. But this hoodie was brand new and sooooo sooooffftttt. And I just got rid of like five hoodies, so a nice new soft hoodie for a dollar was acceptable.
 This is more my style of sweatshirt. A little militant, a little sassy, and green. Love me some green. The only thing I dislike are the teeny pockets. I need useful pockets. For holding yarn and whatnot.
Beybee sized pockets!
Those three tops set me back $3.06. Woot! Another successful shopping trip. -highfives self-

 Onto the book review! I was meaning to write up a review of this book when I first got it two months ago. But moving. I bought this book off of one of my absolute favorite websites: thriftbooks.com. It was $4 with free shipping. I read reviews of the book on amazon and deemed it worthy of the four dollars. Here's what I think!

 There are a lot of clear pictures, which is always a good sign. In fact, each pattern has at least one photo of it finished up. That's mega bonus good. I hate getting a pattern book that doesn't have pictures for each item. What's the point?!
 There are a lot of projects that I can actually see myself making. Lots of baby clothes and scarves that look simple and pretty. I'd say about 60% of the book consists of things I want to make. The other 40%? Major lame stuff. Some pretty ugly pillows and purses. And a set of felted bowls. If you are into that kind of thing, then great. But furry bowls are a turn off for me. Even if they are "decorative" I can't help but think of the dust and fur and hair and gunk they would attract. Blarg.
Cute scarf with a nice cable. Simple and classy.

One of the ugly bags. Barf.

 Though I haven't tried any of the patterns yet, they seem decently written upon skimming them. Let's hope I don't find horrific errors and start crying and cursing the day I thought the book was good.
Final thoughts: The majority of the book consists of projects I can see myself making and enjoying. The prospect of only requiring one skein of yarn to complete a project is delightful, and I will probably be making a few things from this book in the near future.

Happy Tuesday, friends!
Linkin' up at these fine sites!

Monday, March 3, 2014

Yarn to Dye For: How to KoolAid or Tea Dye Yarn

Last in Line: Dyeing Yarn with KoolAid or Tea For a long time, I have wanted to play with dyeing yarn. Remember when I saw that dye lab in Minneapolis a million years ago? Yeah, well, that's what I want in my life. But this weekend I was finally pushed over the edge to give in and try dyeing by my dear friend Lizzy, and I have no such amazing laboratory for color science. Luckily, there are a lot of techniques you can do right in your own kitchen! Or, in my case, someone else's kitchen!!

What is cooler than adding another handmade, one-of-a-kind, feature to craft projects? It's like taking handmade to the next level when you color your own materials!! I know you are already just as excited as I am about this, so let's get down to the steps!!!

You will need:
-100% wool (or other animal fiber) yarn
-A sink
-A microwave
-Some tea bags
-KoolAid Packets (there are lots of possible color combos, so do some research and choose what you like!)
-Some big ol' measuring cups that you can put into the microwave
-Water
-Vinegar (which I didn't have so my tea dyed yarn looks like poo)

Last in Line: Dyeing Yarn with KoolAid or Tea
Start by prepping your yarn. You have to decide how you want your yarn to come out in the end. I decided on looonnng repeats of two colors of tea, and a gradient-effect with KoolAid for my two balls o' yarn.

To achieve long repeats of two colors, you need to wrap your yarn into a big long loop and gently tie it so it won't come undone while dyeing. Then you plunk one end of the loop in one color and the other end in the other color. Tada! Long repeats!

For a gradient effect, wrap your yarn loosely in a ball. The wool at the middle will not absorb as much dye as the stuff on the outside, resulting in a light-to-dark gradient. Just make sure you make enough dye to cover the whole ball!

Before dyeing, fill your sink with warm wahtah and pop your yarn in to soak for about 20 minutes. This allows the yarn to dye faster and more vibrantly. You may need to use some plates to hold the yarn underwater if you are doing long repeats: the loop floats.
Last in Line: Dyeing Yarn with KoolAid or Tea
Now, prep your dye!! Since I knew my tea dyed yarn was going to take a lot of liquid and messing around, I did it first. As I said before, I made the big mistake of not using vinegar to make the dye acidic. So, my tea-dyed yarn didn't soak as much of the color up. But let that be a lesson, not a discouragement. I promise it works super well if you use vinegar.

Onto the dye-making. I did black tea for one color and green herbal tea for the other. For the black tea I boiled about a quart and a half of water in the microwave. I boiled a little less than a quart for the green tea. I used five teabags of black tea and six of green. I wanted the green to be more intense. When you measure out your liquid, make sure to do a 3 to 1 ratio for water to vinegar. It's gonna be smelly, but it'll look so niiiiceee.
Last in Line: Dyeing Yarn with KoolAid or Tea
 Let the tea steep for 5-10 minutes, depending on your desired darkness. Don't let it cool off all the way before you put your yarn in it. You want it to be warm still! Just be careful to avoid felting. Haha.
Last in Line: Dyeing Yarn with KoolAid or Tea
To make the KoolAid dye, I went waaayyyy dark. You don't need vinegar for KoolAid dyeing, because the powder is super acidic already. I boiled about a quart of water for two packets of strawberry KoolAid, half a packet of Crystal Light Strawberry Lemonade, and a packet of Raspberry Iced Tea. I was really messy, so I couldn't get pictures of the dye bath, but lemme tell you, it was blood red.

Now that you have your dye ready, pop your yarn in it and send it for a spin in the microwave. You need to cook it for two minutes, then let it rest for two minutes. Keep doing that until it has cooked for a total of 8ish minutes. Pull it out, and let that baby cool!

Once it is room temp, pull the yarn out and rinse it in cool/warm water. Not too cold or you will shock the fibers. Rinse the yarn until no more dye comes out and the water runs off clear. If you do the gradient effect, you will need to carefully unwind the ball of yarn and wrap it loosely into a loop when rinsing so it can dry better. Some people suggest rinsing with soap at this point, but I didn't. It's up to you.

All that's left is letting your yarn hang to dry overnight, and loving it to bits!!
Last in Line: Dyeing Yarn with KoolAid or Tea
 My tea dyed wool is going to get a redo once I get some vinegar. The black tea part dyed a little, but not as much as I want. Still, it was fun.
Last in Line: Dyeing Yarn with KoolAid or Tea
 My KoolAid dyed yarn is soooo pretty. I cannot get over the richness of the colors!!! It is going to be fun to pick a project to use it on.
Last in Line: Dyeing Yarn with KoolAid or Tea

Last in Line: Dyeing Yarn with KoolAid or Tea

Last in Line: Dyeing Yarn with KoolAid or Tea

Last in Line: Dyeing Yarn with KoolAid or Tea
Roxy (my parent's dog) was very interested

Last in Line: Dyeing Yarn with KoolAid or Tea

Last in Line: Dyeing Yarn with KoolAid or Tea

Last in Line: Dyeing Yarn with KoolAid or Tea
There you have it!! I cannot wait to dye all the things. I already have plans to try some of the techniques Lizzy has played with, as well as the ones Cyprienne at Big Knitting Trouble has been doing. She made a rainbow!! Come on guys. You know you want to tryyyyy.

Happy Monday!!!
Linkin' up at these fine sites!