There are a multitude of ways to chop up a men's shirt and make something completely different out of it. Today, I would like to share with you the art of complete shirt dissection. This is not a way to make a cute dress out of a shirt, but rather a method for getting the most fabric out of a button-down shirt. Of course, you could use the fabric to make a dress later! That's what I did. Let's get started!!!
Gather your materials, yo:
 |
| Big ol' men's shirt |
 |
Measuring tape (for seeing how much fabric you got once done)
Seam ripper
Scissors
Matching thread (for correcting any little oppses you may make) |
 |
| And of course, a bangin' playlist. I went "Flo & the Mac" on this one. |
A few tips on selecting a shirt: most project work best with cotton. But, I mean, this dissection process isn't going to fail if you find a fantastic silk or polyester shirt. The shirt I scored was a gift, so I didn't really have a choice on the pattern. My mother in law had it for some reason and gave it to me for "whatever". But, for most projects I do, small patterns are the best patterns, so this fine plaid shirt worked out brilliantly.
Another suggestion: Go for big. Bigger the shirt, the bigger the fabric gain.
SO. To the chopping! If your shirt has a pocket, get out your seam ripper and carefully take off the pocket. Save it for a project that involves pockets taken off of shirts.
Bam. Be careful when seam ripping, here. Try really hard not to rip the fabric of the shirt itself. If you happen to rip it, that's what the matching thread from earlier was for. Fix dat hole!!
My shirt had collar-stay buttons. Carefully clip these off. Don't do what I did and get a little enthusiastic and clip a hole in the shirt.
 |
| Careful clipping!! Don't make holes!! |
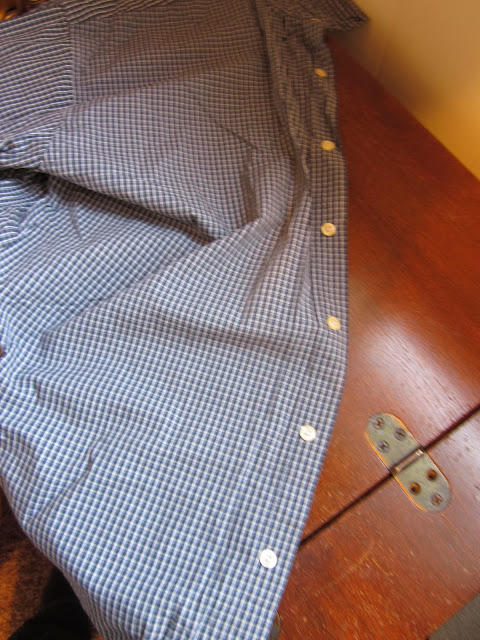
Now it's time to cut the buttons, button holes, and collar off in one looonnnngg cut. Trim this whole unit off by starting at the bottom of the button flap and cutting all the way up and around the collar and back down to the bottom on the button hole side. Be sure to cut the seam the attaches all this jazz to the shirt off with the button flap and whatnot. If you don't it's no big deal, but you'll have to go back and trim it off.
 |
| The button flap |
 |
| And it's all off!! |
You can wear it, if you like. Or just save it for some other creative thing later.
 |
| ooh gurl, dat headband iz cray! |
Alright, now flip your shirt over to address the back yoke. Most shirts have them. It's that area right at the top of the back where your shoulders would go. Most shirt have a double thickness of fabric here for extra strength. Sometimes they have that weird loop thing. Mine had both.
Here's what it looks like from the inside of the shirt. It is easiest to remove it while looking at the inside, I think.
Cut the shoulder seam out. Again, make sure the actual seam goes away with the back yoke. It just leaves a nice clean edge on your big chunks of fabric if you do it this way.
Trimmy trim trim the part that connects to the sleeve.
And the part that goes across the baaaack...
And vioala! The back yoke is out!
While this piece is not very big, don't underestimate it's potential. I had it in my garbage pile, but had to fish it out and separate the layers to get all the fabric potential out of it for a project. Thank you back yoke for saving my project!!
So, here's your shirt so far:
Lookin' good. Time to cut the front panels off of the back of the shirt.
It really doesn't matter which piece you leave the side seam attached to, but I prefer to leave it on the front so that the back ends up with a clean edge.
Cut so that the sleeves end up still connected to the front panels.
Do the same on both sides! Woot!! The back of your shirt is almost completely dissected!!
Just trim the bottom hem off of the back, and it'll be all done! If you want to go really fabric-gaining-crazy, you can use the seam ripper to open the hem and get less than an inch extra of fabric for most shirts. I'm lazy, so I just cut it off.
Tadaaaa!!
Now let's work on the front panels. You do the same thing for each side on the front.
Start by cutting the sleeve out. Take the side seam with it all the way down.
Take the bottom hem off too. You'll end up with a sleeve with one nice long tail-thingy.
Check out your cuff. It probably looks like this:
Cut the cuff off the sleeve all the way around, starting and ending at the hemmed slit that goes up the sleeve to accommodate big muscles.
Then cut the slit (seams and all) out with the cuff.
Now, cut one side of the sleeve seam out, letting your sleeve lie flat.
Then, cut the other side of the seam out, freeing it from the sleeve.
Some sleeves are strange, like the one I had, and have another seam as well. No worries, chop it out and call it a day!!
Yaaayyy!! Now, iron out your big pieces (back, 2 front panels, 2 sleeves) and decide what you want to do with the extras (the collar/buttons combo, the cuffs, the back yoke, and all the seams) and you are golden!! Iron that bad boy and make all the things!! I'll have a post later next week to show you what I made with my dissected men's shirt!
Love you all bunches!!
-Carolyn


